

RLX COMPONENTS s.r.o. , Electronic Components Distributor.
RLX COMPONENTS s.r.o. , Electronic Components Distributor.
Multi-functional All-in-one Mini-Computer Kit Designed for Raspberry Pi 5, Aluminum Case BOX-B,PCIe to 4xUSB3.2 (WS-27835)
Pi5 Module BOX-B (PCIe to 4-ch USB3.2 Gen1)
Multi-Functional All-In-One Mini-Computer Kit Designed For Raspberry Pi 5 (NOT Included), Aluminum Alloy Case, PCIe to 4-ch USB3.2 Gen1
Designed For Raspberry Pi 5
Larger Internal Space, Onboard Rich Interfaces, With Strong Expandability
Fast And Easy To Build Your Own Raspberry Pi 5 Mini-Computer
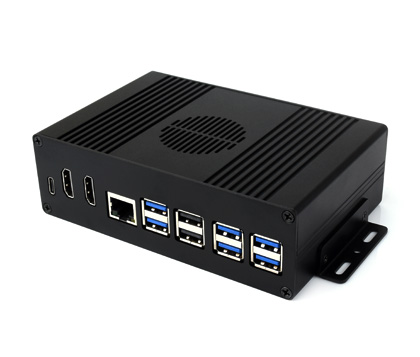
Pi5 Module BOX-A
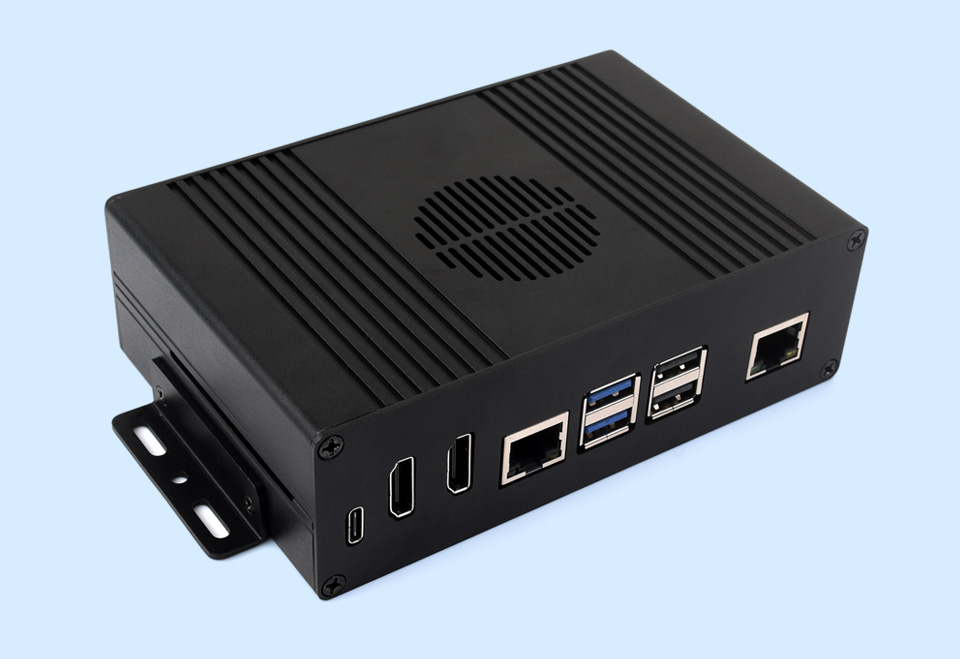
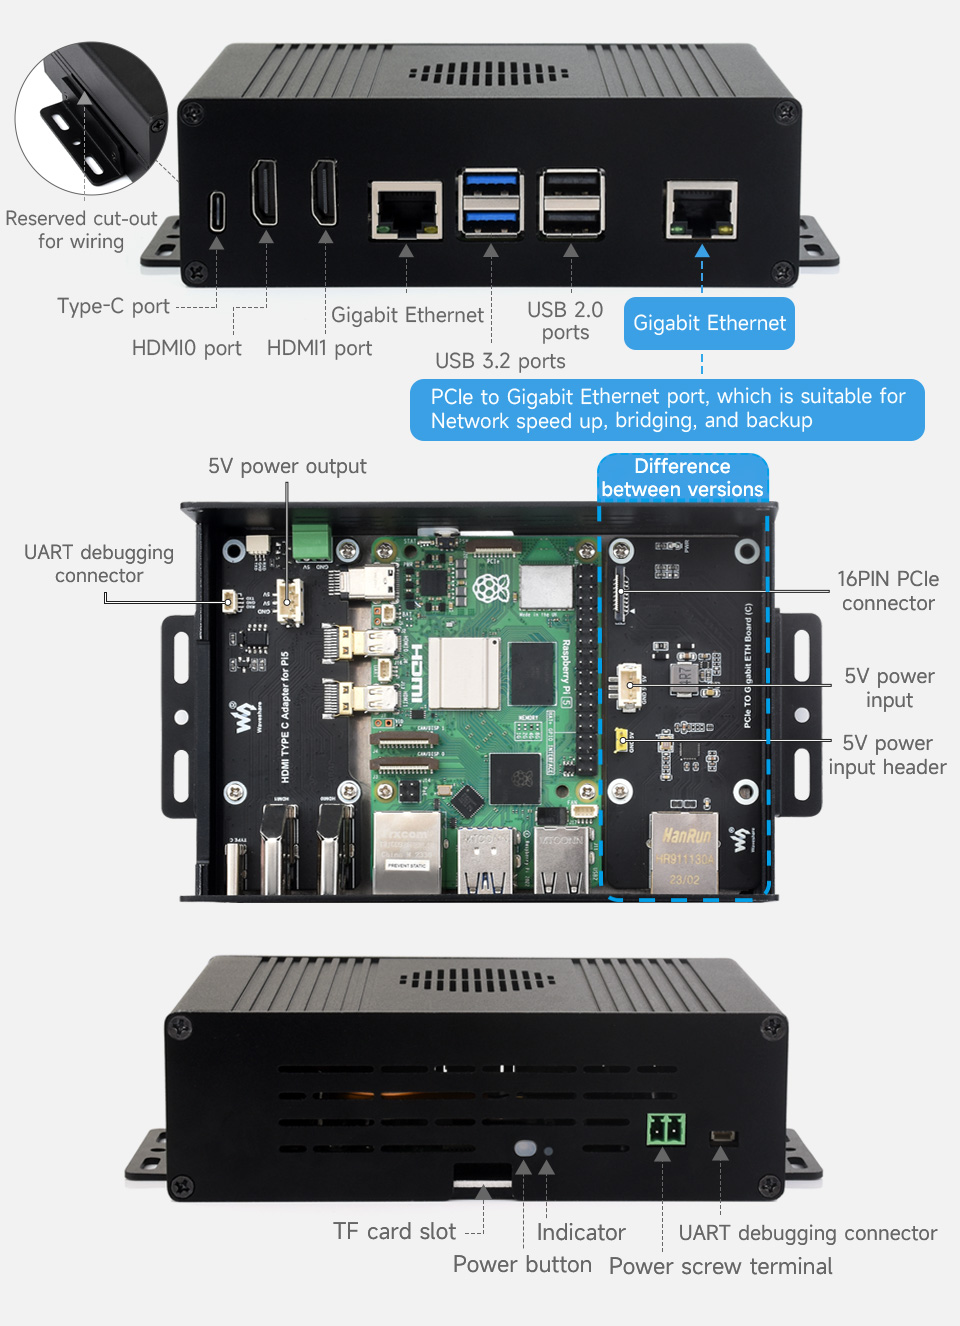
Supports PCIe to Gigabit Ethernet port
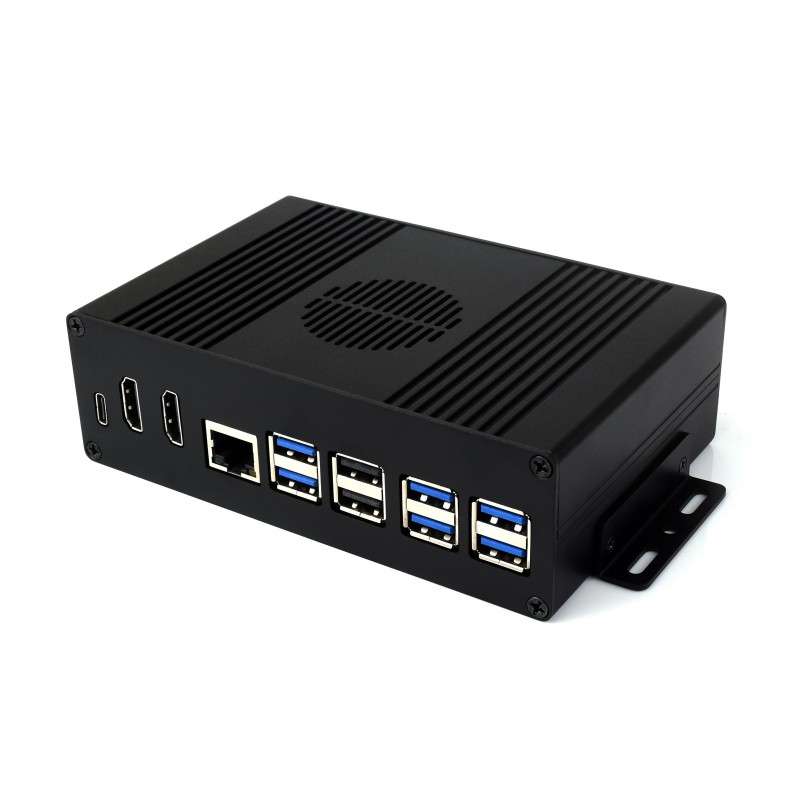
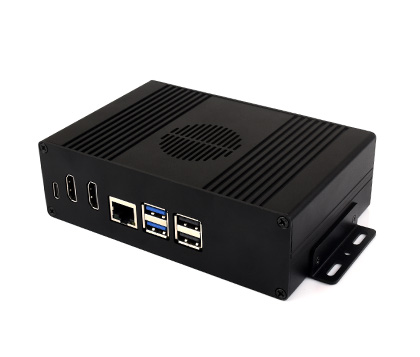
Pi5 Module BOX-B
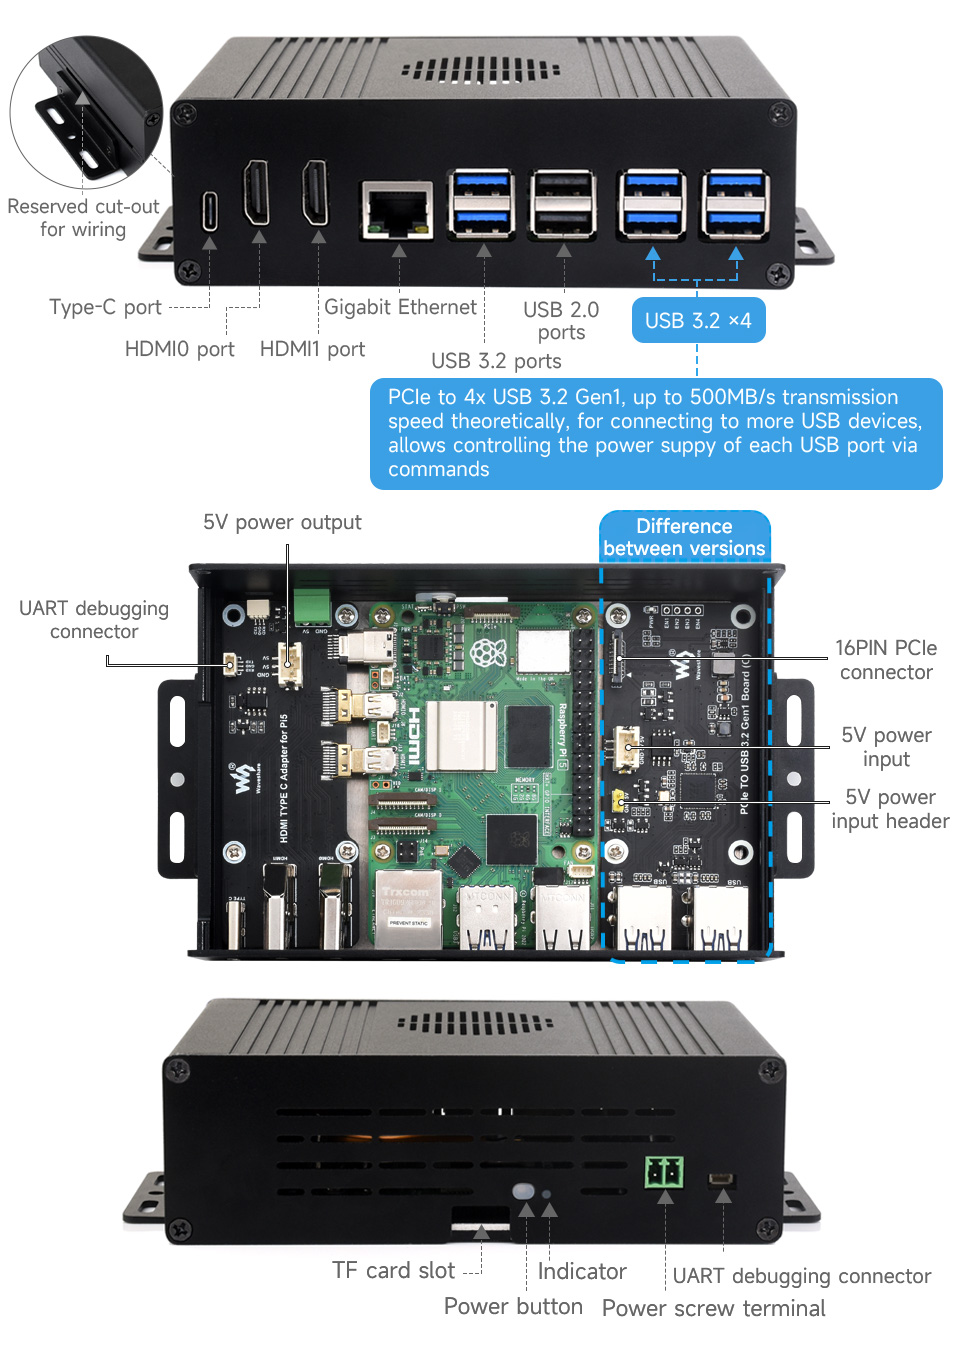
Supports PCIe to 4-ch USB3.2 Gen1 ports
Pi5 Module BOX-C
Supports PCIe to M.2 interface
* the Raspberry Pi 5 is NOT included, please purchase separately if needed.
Pi5 Module BOX-A: Supports PCIe Extending To Gigabit Ethernet Port
Pi5 Module BOX-B: Supports PCIe Extending To 4-Ch USB3.2 Gen1 Ports
Pi5 Module BOX-C: Supports PCIe Extending To M.2 Interface
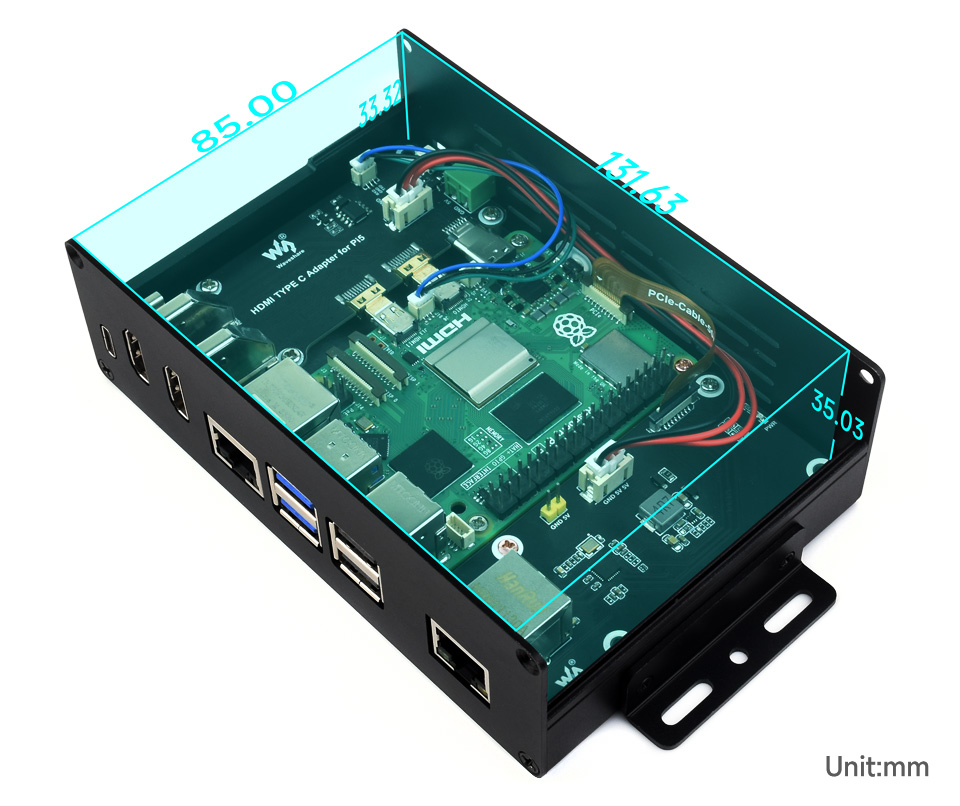
Larger Internal Space, Supports Connecting To Various HATs Such As PoE HAT, Etc. Also With Space Left For Cable Management
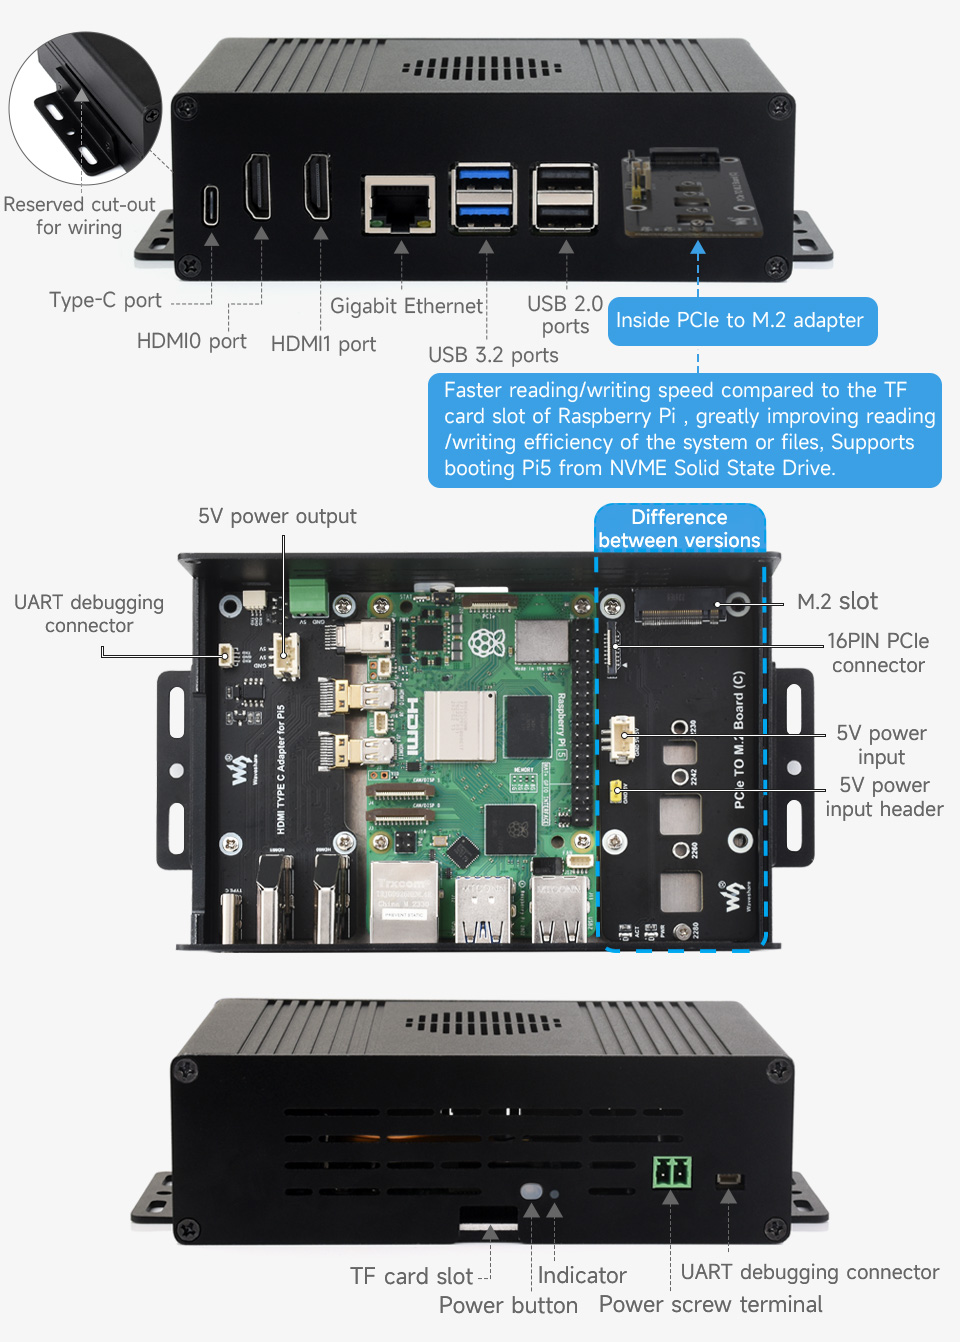
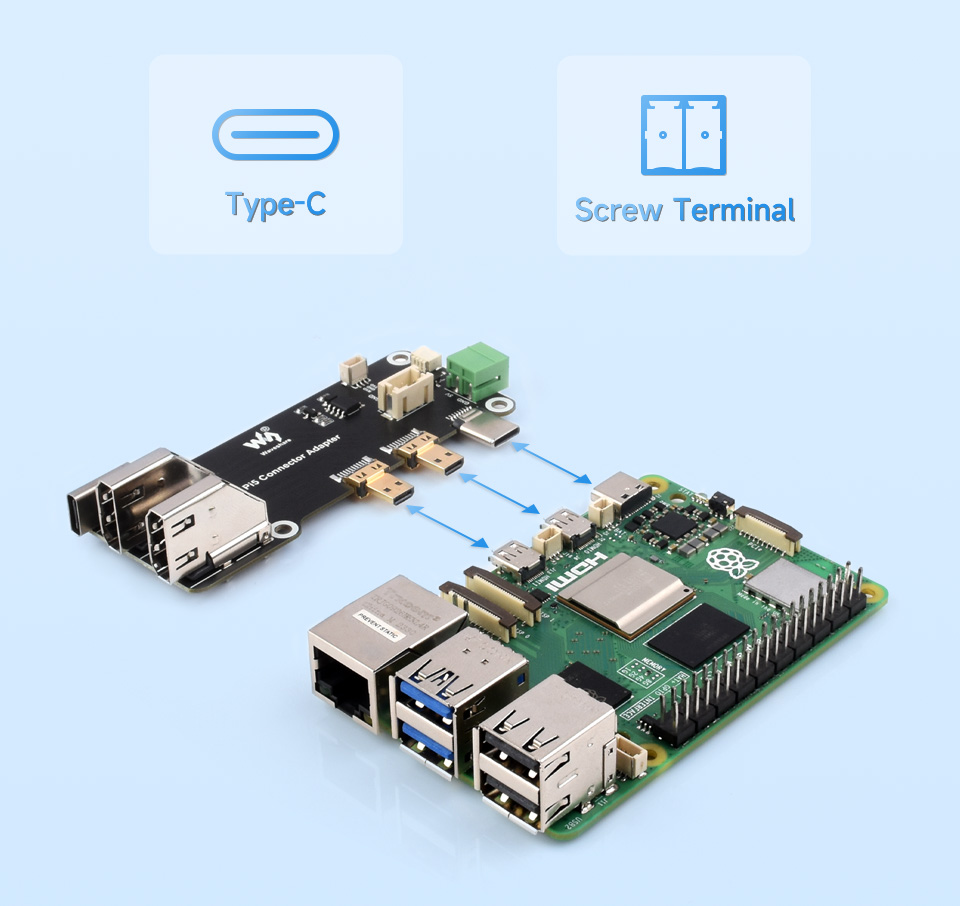
Adapting Type-C, Dual HDMI Female Ports, And Screw Terminal For Easier Connection With Peripherals, Supports Two Power Supply Connection Methods From The Front Side Or The Back Side

Supports Installing Cooling Fan For Better Heat Dissipation
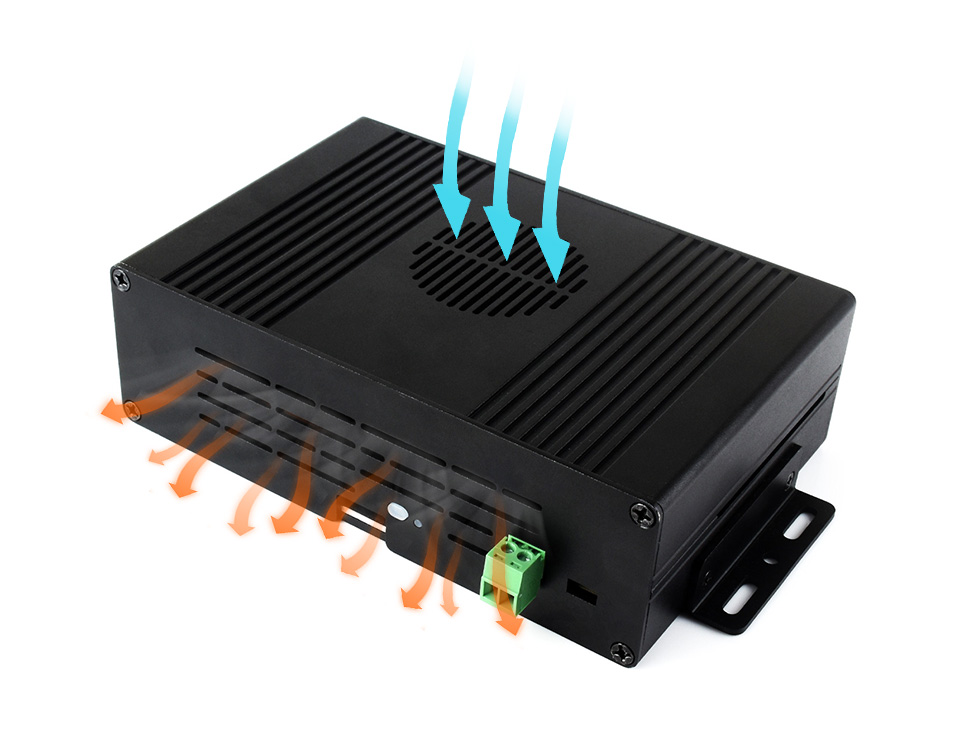
* for reference only, the cooling fan is NOT included.

Prepare the screws as shown above
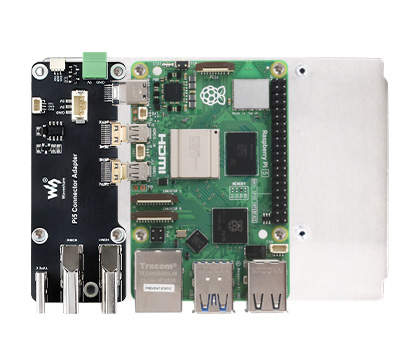
1. Connect the HDMI adapter board to the Raspberry Pi 5 first, and mounting them on the white aluminum alloy base plate with 7x ① screws.
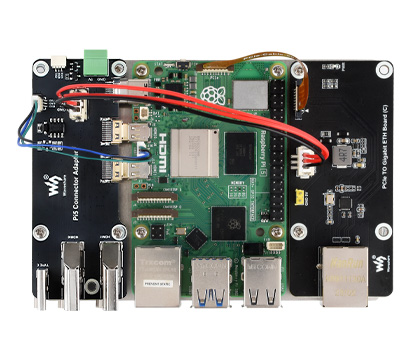
2. Then install the PCIe expansion board according to the version you purchased (here we take the PCIe to Gigabit Ethernet adapter as an example) on the white aluminum alloy base plate with 2x ① screws, and connect the power cable and UART debug cable as shown. Set it aside for later use.
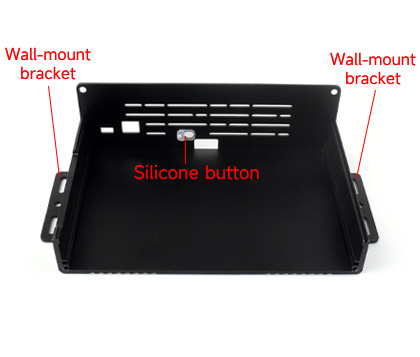
3. Fix the two wall-mount brackets with 2x ② screws and the back panel with 2x ③ screws to the case. And then install the silicone button to the position as shown.
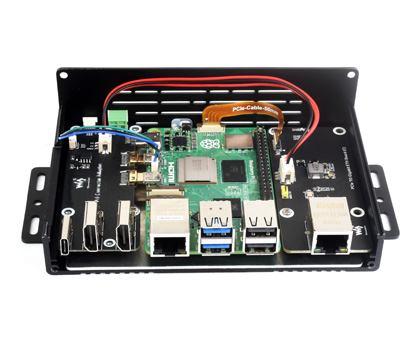
4. Slide the Raspberry Pi 5, the adapter boards and the base plate assembled in step 2 horizontally into the bottom rail of the case. Be careful not to dislodge the silicone button.
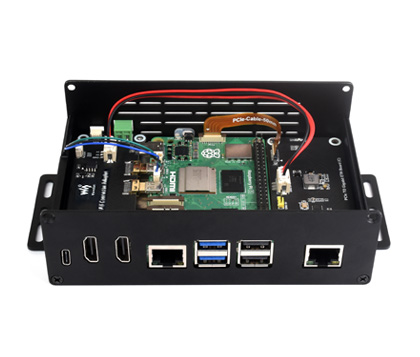
5. Align the front panel with the interfaces and fix it with 2x ③ screws.
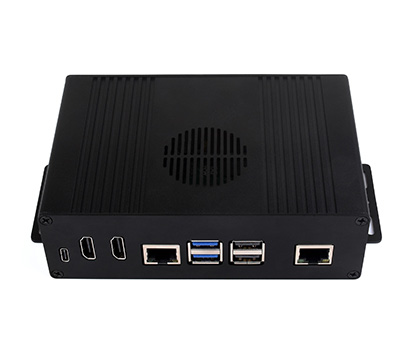
6. Attach the top cover and fix it with 4x ③ screws to complete the assembly.
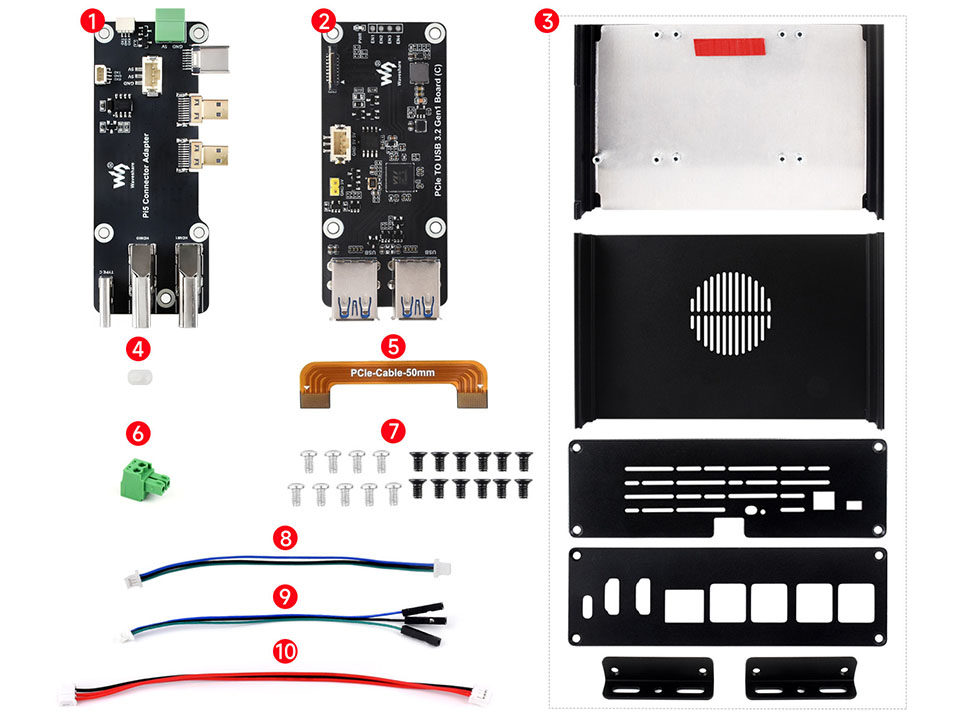
Balenie Obsahuje / Package Content
