




RLX COMPONENTS s.r.o. , Electronic Components Distributor.
RLX COMPONENTS s.r.o. , Electronic Components Distributor.

119.00 € bez DPH
Industrial HMI All-In-One Touch Display Dev.Board Raspberry Pi Compute Module 5, Touch,Camera, RS485 4G/5G (WS-35719) 7″
Industrial HMI All-In-One Touch Display Dev.Board Raspberry Pi Compute Module 5, Touch,Camera, RS485 4G/5G (WS-35719) 7″
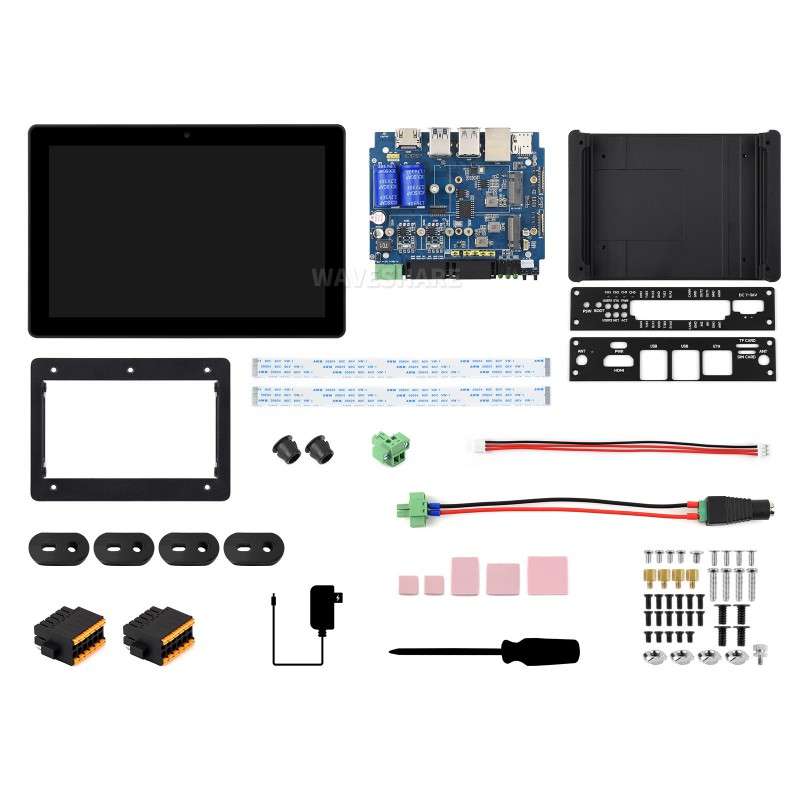
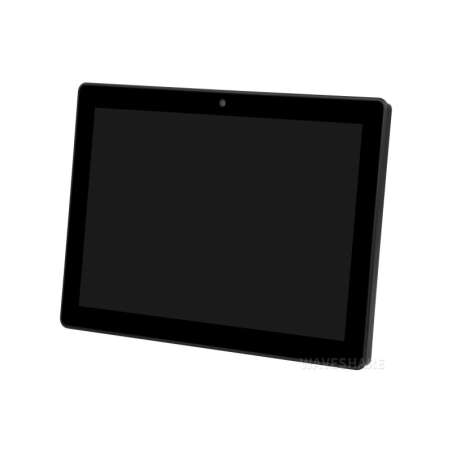
Industrial HMI All-In-One Touch Display Development Board for Raspberry Pi Compute Module 5, 10-Point Touch, Optical bonding toughened glass panel, with 5MP front camera, supports RS485 Industrial Communication and 4G/5G Communication
High Resolution | 10-point Touch | Aluminum Alloy Case

 7" / 8" / 10.1"
 720×1280/800×1280
 IPS panel
 170°/178°
 Capacitive
 10-Point
 Toughened Glass
 Optical Bonding
 5MP Front Camera
 Standard HDMI Port
 Screw Terminal
 Multi-Function Interfaces
 Supercap PLP
 Multiple Networking
 Black Aluminum Alloy
CM5-HMI-7A-ACCE
7inch, 720 × 1280 resolution

CM5-HMI-8A-ACCE
8inch, 800 × 1280 resolution

CM5-HMI-10.1A-ACCE
10.1inch, 800 × 1280 resolution
Sensitive touch control with High Resolution display, durable design

Accurate Face Recognition for Enhanced Security


Full Metal Enclosure with efficient heat dissipation, Pure passive cooling,
no fan noise worries

Supports power-loss hold-up, data protection, and supercapacitor energy storage

Easily adaptable to various monitor arms, enjoy a flexible installation experience

* for reference only, the stand is NOT included, please refer to the package content
for detailed part list.


Step 1: Install the standoffs ① at the positions shown.

Step 2: Install the CM5 module, and attach the pink thermal tapes.

Step 3: Install the baseboard with the CM5 installed onto the bottom cover and secure it with the silver screws ②.

Step 4: Install the front and rear covers and secure them with the black screws ③, then install the antenna rubber plugs ⑤ and remove the sticker from the buzzer.

Step 5: Install the metal bracket onto the display and secure it with black screws ④.

Step 6: Connect the display FFC cable ⑥ and PH2.0 power cable ⑦ to the corresponding connectors on the baseboard as shown.

Step 7: After connecting the cables, install the host to the back of the display and secure it with the black screws ③.

Step 8: Install double-layer terminal blocks ⑨ and connect the power adapter cable ⑧.
* for reference only, please refer to the package content for detailed part list.
7inch display

8inch display

10.1inch display

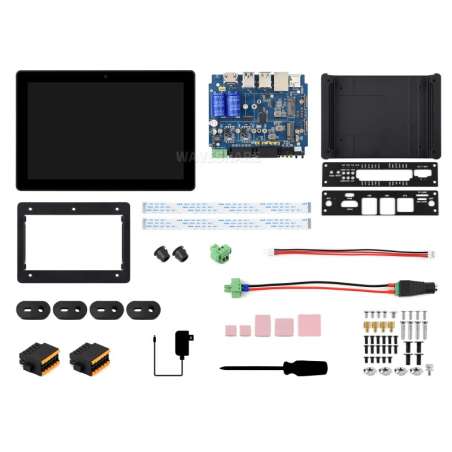
Balenie Obsahuje / Package Content

Špecifické referencie
Industrial HMI All-In-One Touch Display Dev.Board Raspberry Pi Compute Module 5, Touch,Camera, RS485 4G/5G (WS-35719) 7″
119.00 € bez DPH
